Friday, October 18, 2013

Coconut Smoothie Recipe

Alas! The Famous Coconut Smoothie that revolutionized my life is finally being shared!


All the information on why I choose a raw young coconut a day are in this post 40 Days of Wellness. Over one year later from this post, I am stronger and healthier than ever. I will say that I dont attribute my health success solely to eating raw coconuts, but it definitely was the catalyst to getting my immune system in gear. Here's a great article on the benefits of eating young coconuts.
      Also, I have been using my Ninja Blender, which works great!

Here you, my favorite smoothie! 


Coconut Smoothie

      1 Organic Young Coconut (the water & meat, which is jelly-like)
       3/4 (or more) Cup Organic Mixed Berries (Blackberries, Blueberries, and Raspberries)
       1 Scoop of Plant Fusion Protein Powder 

Bust open the top of your coconut (Here's a video demo for you) then pour out the water into your blender. Use a super strong spoon to scrape out the meat, depending on how thick it is

Wednesday, September 4, 2013

Water Kefir Immune Boost & Recipe


Water Kefir (NON-Dairy) is the newest addition to my immune boosting protocol. Of course you probably know about the many benefits of drinking kefir, especially for the probiotic factor, but when my friend gave me some kefir grains a couple months ago I had no idea that this was going to give me the boost it did. 


What Are the Benefits of Drinking Water Kefir?

You can find a good list of benefits here: kefir tibicos, but heres a quick list of my own:
  • Natural Probiotic 
  • Digestive Strength
  • Fights inflammation
  • Fights free-radicals
  • Strengthens immune system overall
  • Increases energy
  • Increases mobility
  • Fights depression, enhances mood
If you are on a tight budget or time-frame, this is the easiest and lowest-cost regiment you will ever make. Here's a link to  Cultures for Health where you can purchase a starter kit. 


What Weakens the Immune System?

Strictly speaking from someone who struggles with immune health, these are the factors I have found that weaken my immune system.
  • Poor food choices (Fast Food, Sweets, etc.)
  • Lack of sleep
  • Lack of Hydration (Water)
  • Overexertion
  • Stress
For myself, if I mess up on one or two of these, I would literally be sick within 24 hours.  By "sick" I mean low grade fever, chills, body aches,  "flu" - type sick. If I went a few days like that I would end up with a sinus infection and laryngitis. Up until last year, it was typical for me to be sick at least twice a month and have a sinus infection/laryngitis at least 3 times per year.

In previous posts, I have talked about other things I have done to strengthen my immune system, like the Anti-Inflammatory Diet and drinking raw, young coconuts. As with any regiment you are doing to get healthy, you cant just have a "quick fix" and be healthy forever, it has to remain a lifestyle. I am excited to have added water kefir to my daily lifestyle, and heres what its been doing for me.

The miracle for me was that in the 8 weeks I have been drinking water kefir I have had more than the two factors I listed above which would normally diminish my immune system and my body has recovered each day beautifully. No sickness. None. 

While I don't want to make any medical claims, I am stating my testimonial, that water kefir did indeed strengthen my immune system and vitality in a very noticeable way.


Ready for a recipe?


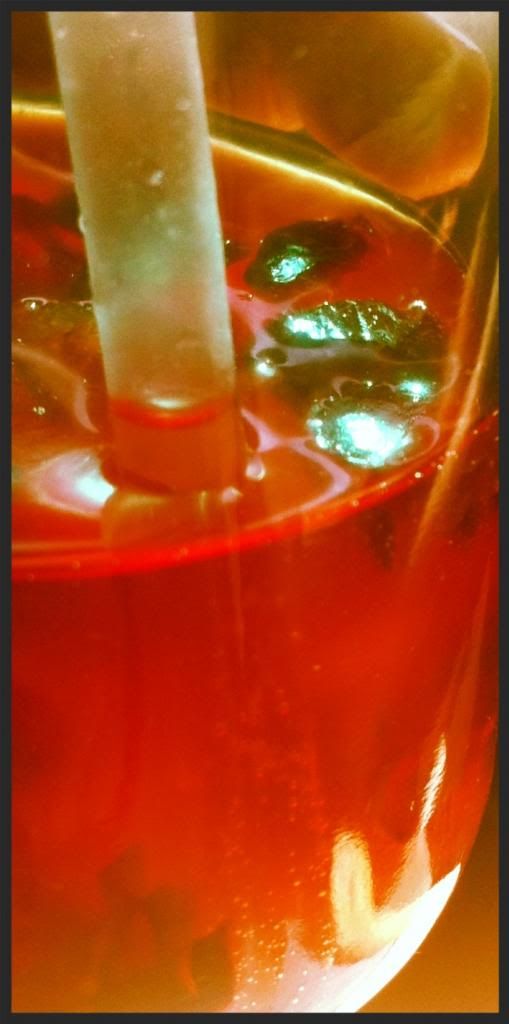
Jasmine Ginger Ale Kefir

(Basic Water Kefir Recipe Steps 1-3)

1. Place 1/4 C Water Kefir Grains in Sugar Water (1 Quart bottled water + 1/3 C Raw sugar Dissolved) in Glass Mason Jar.
    (Always make sure the sugar water mix is cool before adding grains)

2. Let sit on counter covered with cloth (I use old t-shirt cut up & rubber-banded.) for 24-48 hrs. (I go 48)

3. Strain out the grains (with cheese cloth or strainer) and bottle the water (1 Quart makes 2 bottles). 

4. Add 1TBSP dried Jasmine, 2 TBSP of raw ginger juiced, and 1 TBSP Coconut Sugar, Honey, or Agave (whatever sweetener you like) *you will want to add something because it will help it frement and get bubbly.

5. Let sit on counter 12-48 more hours capped tight. Then refrigerate. 

Enjoy your bubbly pro-biotic drink!


Monday, August 12, 2013

Juicing for Immune Boosting


Juicing for immune boosting is the primary reason why I do it. If your body feels run down, weak, or diseased compromised, I want to encourage you that you can juice and feel the difference!

First off, let me say that I am no expert on juicing, in fact I feel like a juicer-failure most days. However, there are some basics I have learned in the last year since I watched the movie Fat, Sick , and Nearly Dead. (You can watch it for free) 

We watched the movie in July 2012, then I quickly realized why juicing was such a great way to boost my immune system. Here are the basics on why and how to juice based on my simple experience. I hope my experience and resources will help boost your immune system to. 


Choosing Your Juicer.

Not all juicers are created equally. I did alot of research, which I would like to save you the trouble of, so I'll cut to the chase and tell you the best juicer "type" is a Cold-Press, or Masticating Juicer, that is if you are juicing for the nutrients. Here is a web page explaining the differences between the most common types. (Juicer Types

We tried a centrifugal juicer first for a few months, we got less juice pressed, it was loud, and harder to clean. I read a great article which led me to choose the Masticating type. If you are on a tight budget, try looking on craigslist for a used Champion, I hear they last forever, and because they have been around forever, its easy to get replacement parts. 

Our choice? We got an Omega, and we love it. 


Getting Your Vitamins. 

As I said earlier, the epiphany I had when I watched the movie was that no matter how much good food I eat or vitamins I take, it simply was never enough. In fact, most vitamins I have tried made me fatigued, weak, or sick. After doing tons of research and trying different things I found certain "allergens", for lack of a better term, were hurdles for my body. Most vitamins, either in their contents or coating, contained whey, soy, or corn products which I had discovered were slowing my immune system down. The other problem was that vitamins in pill form may not be absorbing as much as my body needs or distributing evenly. Not all vitamins will work on every body type and my poor body was exhausted trying so many. 

But the beauty of juicing is that juice absorbs right away, you control how much you give your body at any given time, and you can easily avoid your own body's allergens by controlling what you juice. Win. 

Juicing for Fasting

There are lots of article and information on the web about juicing and fasting, I just want to give you a couple of suggestions if you are planning on drinking alot of juice in place of food. This is from my research and experience, I am not giving medical advice, nor suggesting you juice-fast.

1. Increase Slowly

I want to suggest that you don't just decide to juice and stop eating one day. Start by juicing 4 oz. as a nutritional supplement and build your way up to 16 oz. or more a day. We were so excited about juicing we juiced so much that I got so sick of juice! My tummy was not having any more after about 6 months. In hindsight, slow and steady wins the race!

2. Be Wary of Internet Recipes

There are lots of juicing recipes out there, be wary. Keep it simple and organic. I find that the more complicated you make something the harder it becomes to keep up. If your gonna spend a few hundred dollars on a good juicer, don't let it just be a fad for the month. Make juicing a part of your life by keeping it simple. 

3. Don't Mix Fruits and Veges

OK, so this is debatable, but I want to give you my advice, since this is my blog. Why I don't mix them is because:
  • It upsets my stomach and I feel nauseous  (and I can tell right away cause I am very in tune with my body)
  • It gives me #3 (you should not have diarrhea from juicing)
  • You lose some of the nutritional value of the juice from the enzyme arguments happening in your stomach. (here's a decent article on it)

So veges don't taste super great alone so there are a few "neutrals" that can be used. Those would be fruits that fall into both categories of "fruit" and "vegetable", "root", or "herb". Those would be apples, bananas, or carrots. Oh, and don't forget about coconuts, they are amazing in smoothies, and they are not fruit, they are nuts!

Here's the recipe I used (not exact, but these basic ingredients) for many months, in my Juicing 101 post.


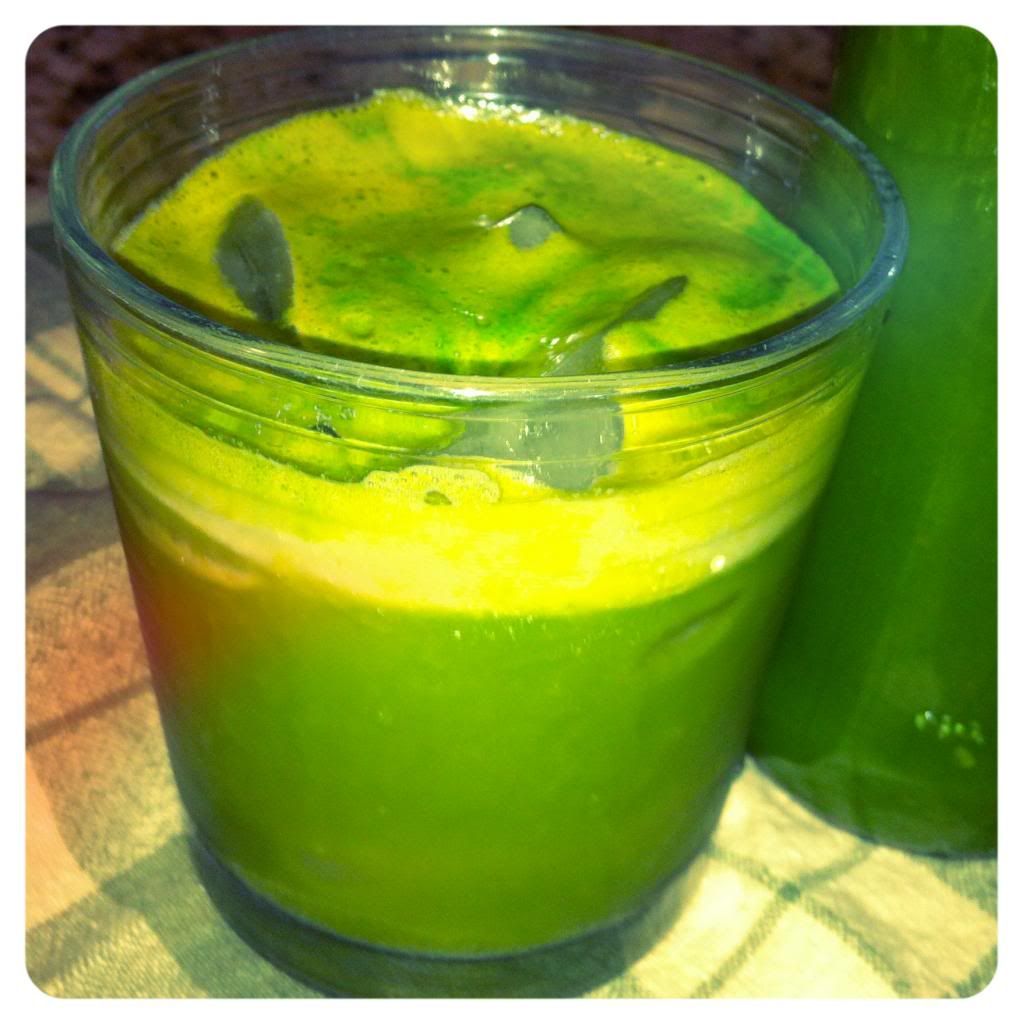
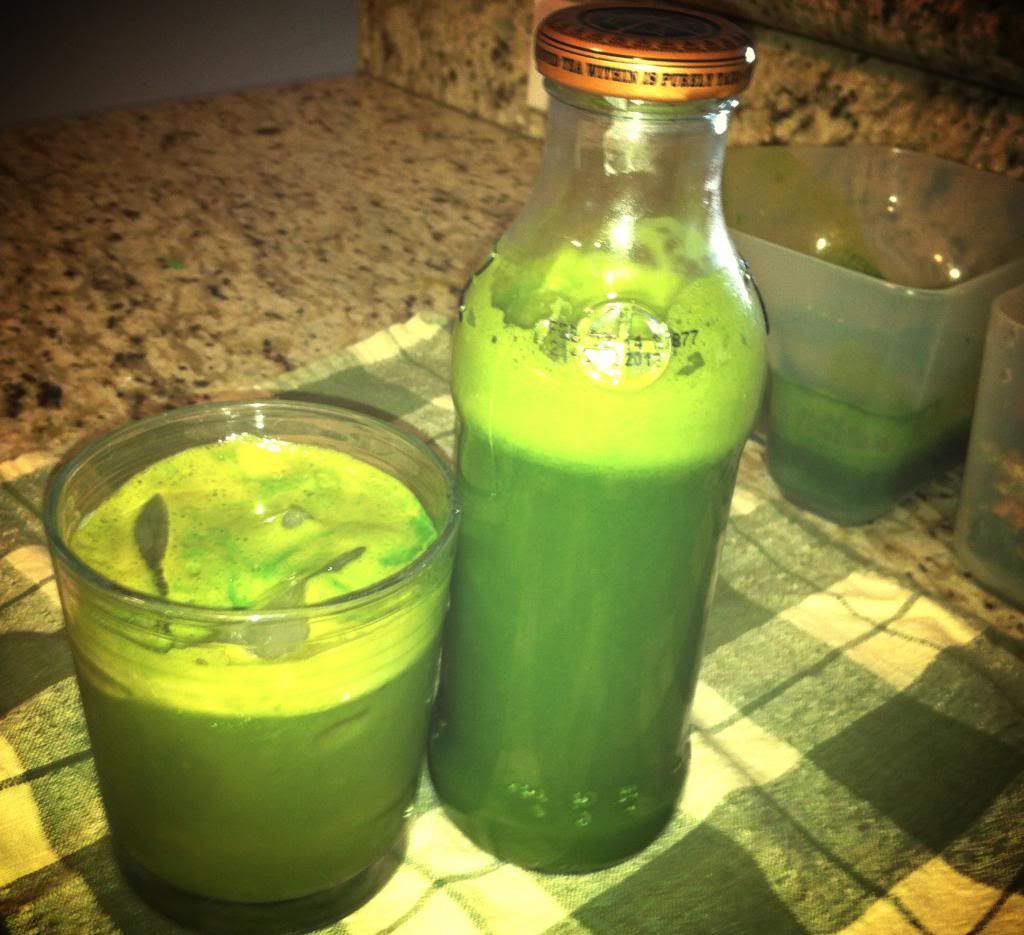
Another simple recipe is: S.A.C.K.

Spinach (1 Cup)
Apples (1 Large, or two small)
Carrot (2, or 1 Cupish of baby)
Kale (4 big leaves)


Makes 12 oz bottle. (I reuse glass bottles from iced tea or kombucha, fill them with my juice, and drink 1/2 the bottle at a time.)

- enjoy!

Monday, July 15, 2013

My Favorite Protein Powder

Everyday I talk to people about health and they always want to know what products I use and love, so here is my favorite protein powder. ---------->

Why, you ask? I have actually avoided protein powders for years because they either had ingredients I was opposed to or allergic too, not to mention all the sugar and carbs. 

When I began trying diets to boost my immune system, I discovered a diet that revolutionized my immune building strategy. I'll have to address the diet in another post, but for now, let's just say its a Ketogenic Diet.

If you aren't familar with the word "ketogenic" just think about the Atkins craze a few years back, that diet is one of the many types of ketogenic diets. 

The basic diet requires alot of fat and protein, and little or no carbs. Enter the protein powder. 

Not all protein powders are created equally.

What I needed was ALOT of protein. I went to my neighborhood health food store and turned to the backs of all the protein supplements on the shelf. The first thing I looked at was how much protein I was actually getting per scoop. 

The next thing I looked at was how many carbs and grams of sugar was in each serving. Most of the supplements had a 1 to 1 ratio or worse, meaning that for every one gram of protein there was at least one gram of carbs and/or sugar. 

For a ketogenic diet to work, you need to have a 3 to 1 or greater ratio. 3 grams (protein+fat) for every 1 gram (carbs+sugar). This means I needed ALOT of protein, more than what was in the supplements. 

 Here you can see the ratios quite clear. Protein + Fat = 24 grams, Carbs + Sugar = 5 grams. This is almost a 5 to 1 ratio. Perfect. 

So there you have it, my favorite supplement, and why. 
Oh, and its super affordable too, the best price you ask... Amazon. 

Remember, it pays to read the labels. 

- Gina


Sunday, June 2, 2013

Easy Sourdough Bread Recipe


Once you have finally got some good sourdough starter, the saga continues because now you have to sift through, literally, five million recipes to find which one to do! Some use yeast, some use eggs, it can be so overwhelming! So far I have tried about ten different recipes and here is our current favorite. Enjoy!

Easy Sourdough Bread Recipe:

1 Cup Sourdough Starter
2 2/3 Cup Flour (Bread Flour)
3/4 Cup Warm Water
1 1/2 teaspoon dry active yeast
1 1/2 teaspoon salt
oil to coat

Mix the yeast in the warm water, you can add a little sugar to help activate it, depends on who's making it in my house, I usually forget the sugar.

Meanwhile, mix the starter, flour and salt. Then add the water & yeast in. I don't have a bread maker or large mixer with dough hooks, so I am kneading it the old fashioned way. Then I put a little olive oil on it, and coat it. Plop the ball of dough back in the bowl & cover with a lightweight towel, at least overnight, but 24 hrs or more is best.

Bake at 400F for 30 minutes.

I still haven't gotten a loaf that has risen super good, but the flavor and texture is great! Enjoy!


Friday, May 31, 2013

How to Make Sourdough Starter


I cannot believe I entered into the land of sourdough. How did this happen?? Well, like many other things I thought I'd never be able to do, sourdough was one of them. Then about a month or so ago I had a friend visiting who also has five kids and she said she made it all the time! So of course I thought, "man if she can do it, and hers are younger than mine, than maybe I can?"

So with her encouragement, I threw a cup of water and a cup of flour in a glass jar and mixed it up. At first I didn't know what I was doing, and everything online says to do different stuff and I was getting confused fast. So here is what I learned in the last five weeks and how I finally got the best batch of sourdough!

Making a Starter.

Making the starter isn't hard, but it takes patience, and if you don't mind eating bread that flops until you get it right, then this will work for you. Here's what worked for me:

  1. In a glass (or ceramic) container mix 1 Cup flour with 1 Cup water. (no plastic or metal)
  2. Stir with wooden spoon. (only wood) 
  3. Each day it should look like it's risen a little bit with bubbles and should not be too thick. Think consistency of cake or biscuit batter as opposed to dough.
  4. Every day add 1/3 Cup or so flour and water to "feed it" and mix. (I didn't follow the exact measurements because that was too difficult for me. I pretended like if I'm making bread from scratch then I'm like a prehistoric person who doesn't own proper measuring devices and God will help me.)
  5. Stir at least once, or twice if your feeling like it, per day. (I am using this as a "pet" for my children hoping they will forget about the hamster they want so bad by feeding and stirring this)
  6. Cover with a thin "tea towel" or any cotton, breathable cloth. (I use a thin kitchen towel)
  7. After 5-7 days of this, your starter should be sour smelling. Start using it to bake and see how it goes. 
I got this adorable 70's looking ceramic flour canister from 
a thrift store which is perfect for my starter!


*Also note, no one says this anywhere so I really am loving you way more than other bloggers by telling you this... you can leave your starter out all the time as long as you stir and feed daily, and you DON'T have to feed it a lot. Feed it a little, it grows a little, feed it a lot, it grows a lot. So how much bread are you going to be making? Daily? Weekly? Feed it accordingly and leave it out.

*Putting it in the fridge confused me because it got funky and I am making bread everyday so I don't need it in the fridge. But you can google that if you are concerned, like for going out of town etc.


Hope these little tips helped you!!
Happy Fermenting!

Friday, April 19, 2013

The Absolute BEST Homemade Granola Recipe


I actually meant to make granola bars one day and tried a new recipe, that turned out all wrong, or was it?? Cause it ended up to be granola cereal in the end!! I honestly never thought I could make my own granola, I actually thought it was too hard for me! And granola cereal in the stores are not cheap, and they have all that added sugar and unnecessary ingredients. Well that gave me confidence to try recipes making my own "cereal" and I finally perfected this one- no sugar, no dairy, and gluten free. Enjoy! Mmmmmmm.


Preheat oven 300 degrees F

Ingredients:

3 Cups Oats (Old Fashioned, whole)
1/4 tsp organic/kosher salt
1/2 tsp cinnamon
1/8 Cup honey
1/4 Cup Coconut Oil
1 tsp Vanilla
1/8 Cup Maple
1/8 Cup Flax Seed
1/8 Cup Flax Meal
1/4 Cup Chopped Almonds, or Almond Meal
1 Tbsp Chia Seeds
1/4 Cup Unsweetened shredded coconut

In a large bowl, stir together all the dry ingredients. In a small saucepan, melt the coconut oil with all the wet ingredients. Once all melted, remove from heat and pour over dry mixture. Mix together well in the bowl.

Spread the mixture in a thin, even layer on a baking sheet and place on the center rack of the heated oven. Bake, stirring after 15 minutes, until the granola is a very light golden brown. It should take 20 to 30 minutes.

Cool the granola completely, stirring it around so it doesn't stick together. (It hardens as it cools.)
Now add any other nuts or dried fruit, I added Craisins to mine.  Store in an airtight container, I keep mine in the fridge unless it will be eaten in 48 hrs.

Enjoy!